I’ve always had the knack for making dough.
Unfortunately it’s the sticky white stuff which rises in the oven I’m referring to, rather than the sort which pays the mortgage, but hey ho.
Anyway, one of my favourite dough related activities has always been pizza night. An occasion I can use both to get my son involved in the kitchen and to sate my obsession with crafting the perfect method.
I’ve always been fascinated with pizza. The ultimate fast food. How to do it better. Always trying to improve. The best base. The right topping.
I’ve been lucky enough to travel in Italy quite a lot. I’ve eaten a lot of bad pizza there. I’ve also eaten the very best pizza there. Usually around the Naples area.
Southern Italians have that innate understanding that the dough itself is the most important part of making pizza and pasta process. The pizza base, or the pasta shape, must be the most important thing on the plate. It should work even with no sauce, topping or accompaniment. It is the dish. It should get the level of care it deserves.
The best pizza I’ve eaten has usually been close to plain. Perhaps stretched with just a sprinkling of oil, herbs and salt upon thin and crispy base. Totally addictive.
It’s pretty hard to recreate an Italian Taverna in my Hillsborough kitchen but I’m always game to have a go. It’s about the only culinary experience which gets my son excited so I do it as often as I can.
The first thing is realism. There’s a lot of flour involved and your kitchen’s going to get a bit messy. Accept it.
Also, unless you’re lucky enough to have a pizza oven installed in your back garden, then you’ll have to make do. You’ll never match the heat of a pizza oven in your kitchen but that doesn’t mean you can’t make a decent pizza.
First there’s the dough. I’ve mucked around with dozens of recipes over the years but, through experimentation, I think I’ve settled on this one.
I take 500g of 00 flour. This is the same sort of flour I use to make pasta. It’s very fine and has a lower gluten count, which means the dough will be less elastic. I like this because when you roll it very thin it doesn’t immediately begin to shrink back.
Mix the flour in a large bowl with a good glug of olive oil and a generous pinch of salt. In a jug measure 300ml of tepid water with 7g of dried yeast (double the quantity if you’re using fresh yeast).
Give it a good stir to waken up the yeast and then add to the flour. Stir the grey porridgy mixture with a spoon until it comes together. Then tip onto a floured surface.
And now the work begins. I’ve met lots of people who say they enjoy kneading dough, that they find it therapeutic. To me it’s just another process to be done. The more work you put into it the better your dough will be.
Flour your hands and begin to stretch it. My method is to stick the heel of my hand into the dough and then roll it out until its stretched to breaking point, then turn it back over on itself. Soon you will see the dough improving, cleaning your work surface and your hands and becoming glossy.
The kneading process should take about 10 minutes and you should be slightly out of breath. You’ll know when it’s ready. It just looks and feels right.
Then the rise. The most important part of the process. The better the rise, the better the taste and quality of the dough. Ideally this should be done as slowly as possible. In the fridge overnight.
But that involves organisation and preparation. Not qualities I’ve ever been accused of possessing. You can get away with covering in a bowl with cling film and 45 minutes next to the radiator. The dough should double in size as the yeast begins to activate.
Now get your oven turned as high as it will go.
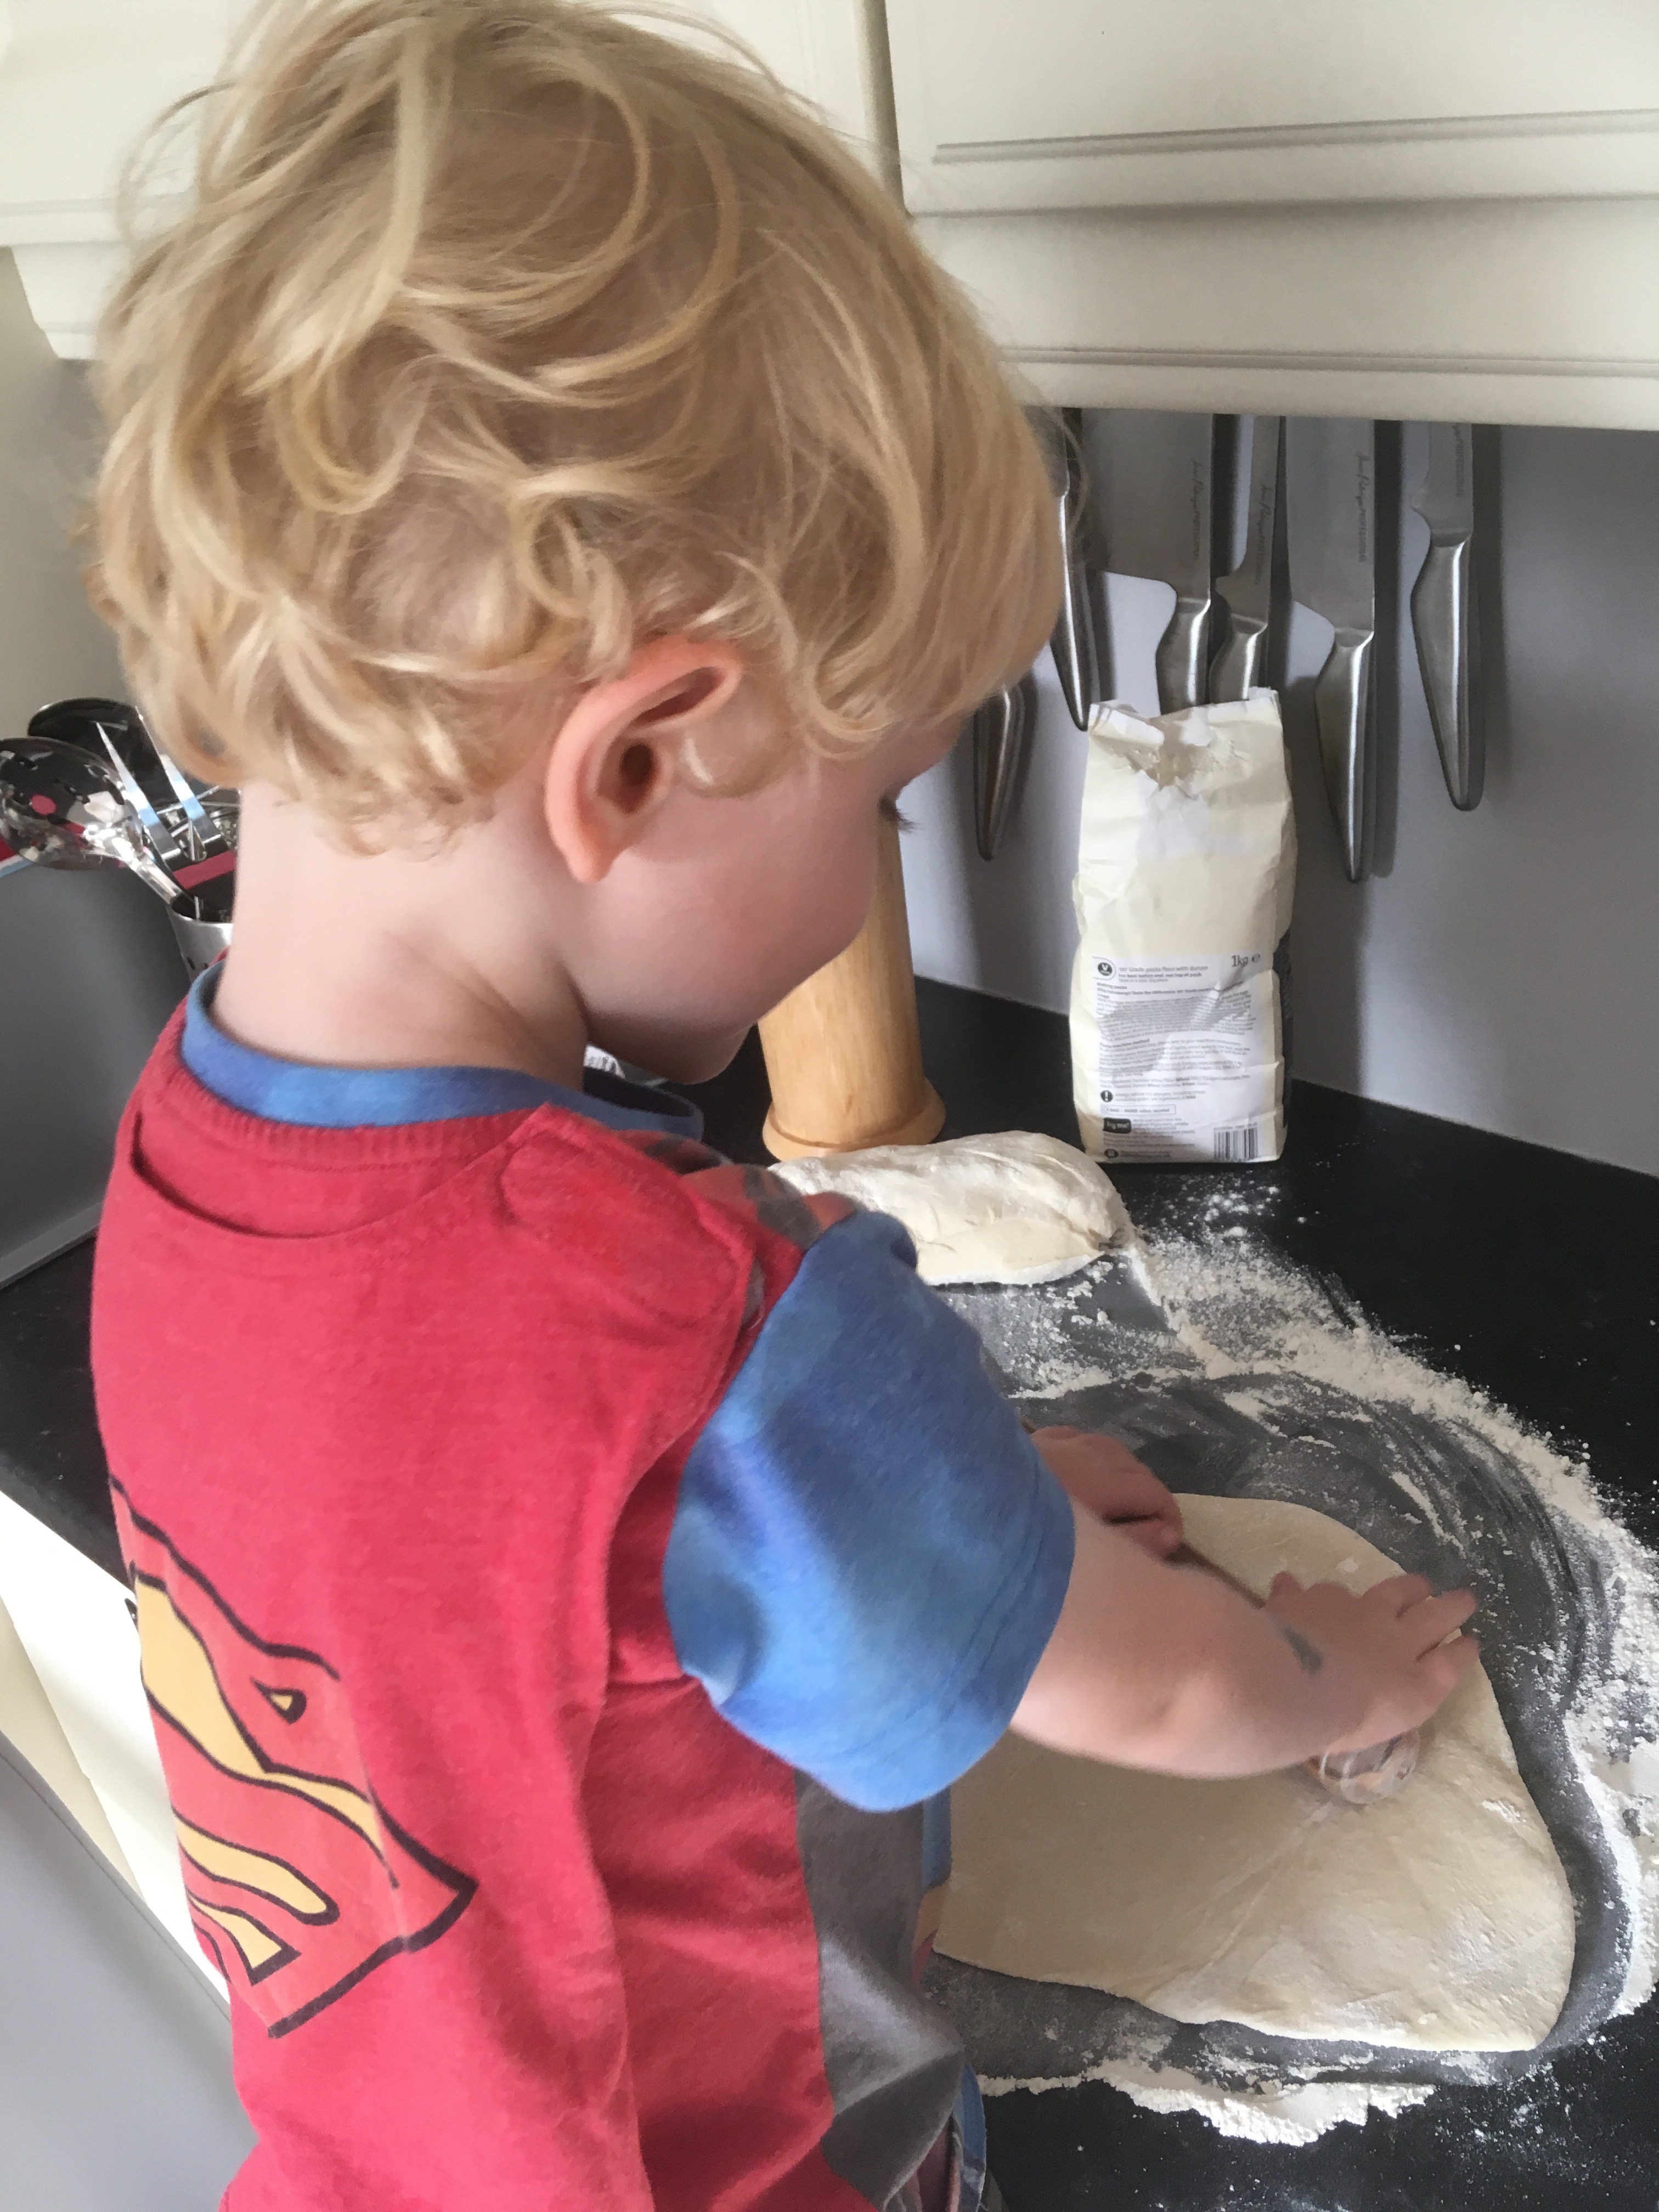
Now comes the fun bit and the part where I introduce my little helper.
I like my son to feel some ownership of this. He’s got his own little rolling pin and I let him pick out which cookie cutter shapes he wants to use. I find he’s way more likely to eat if I cut his pizzas into fun shapes rather than just having them round.
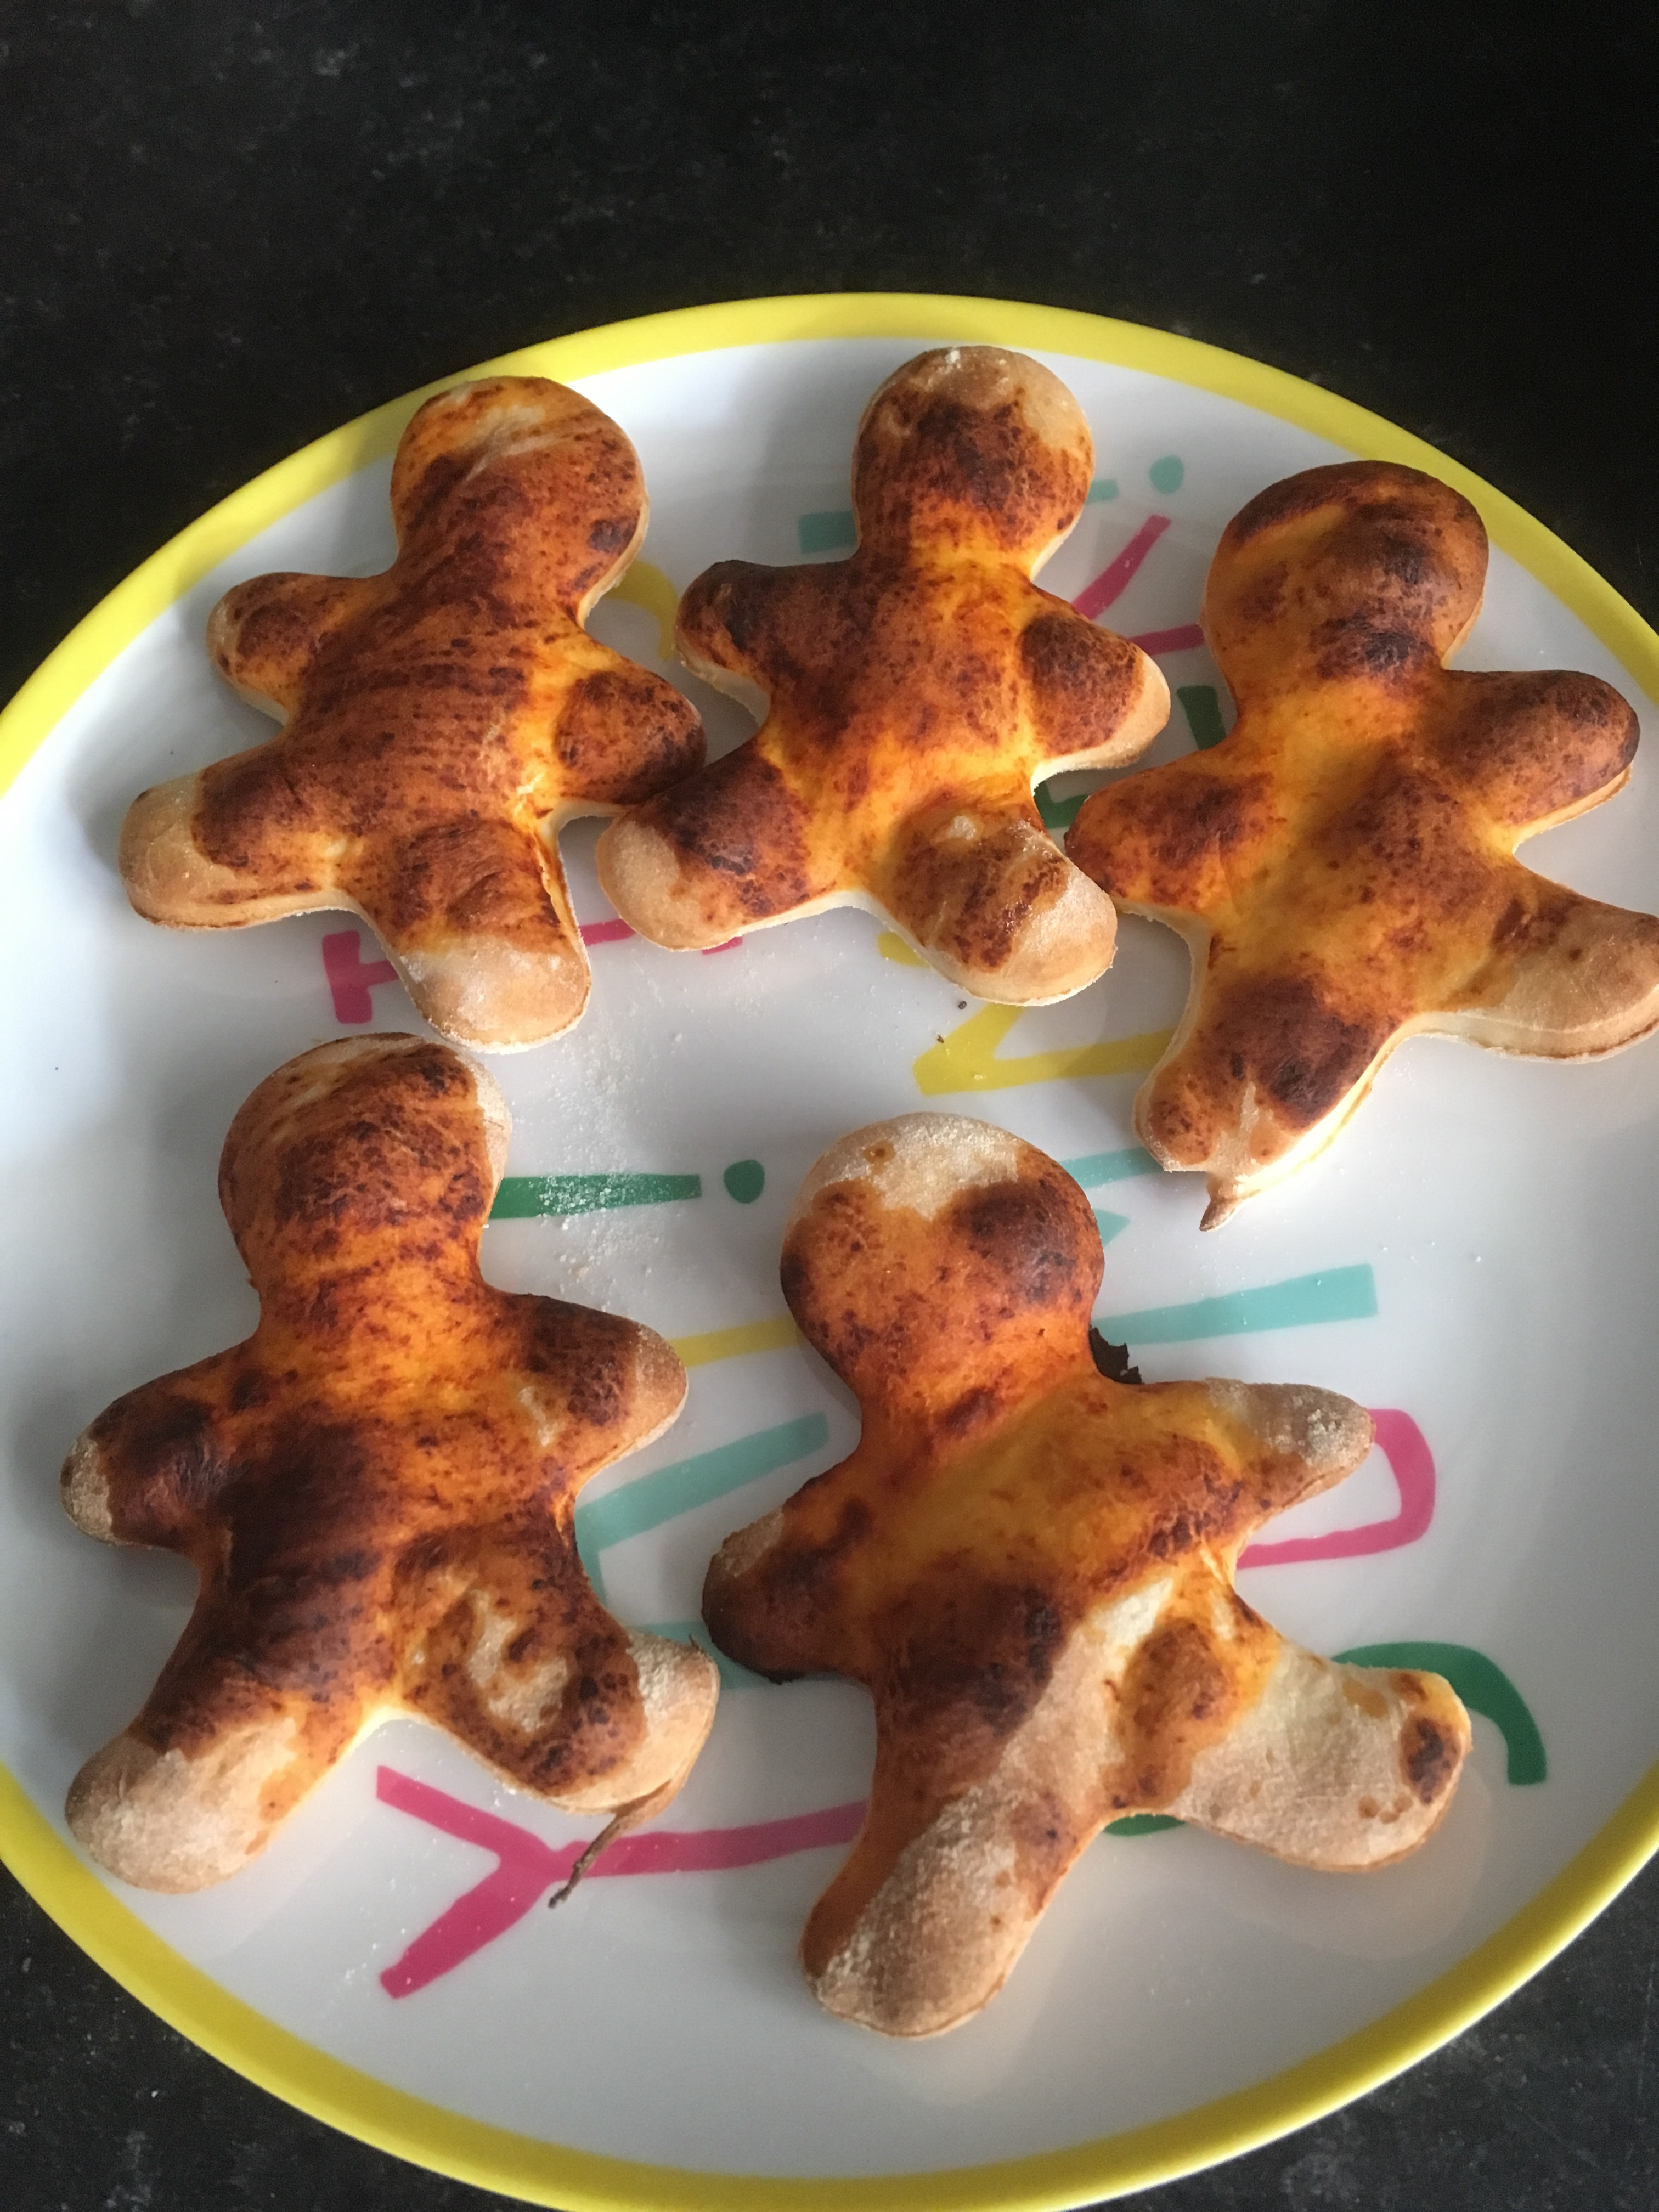
I cut off a chunk of dough and help him to roll it thin. Today he’s using gingerbread men cutters and we play a game that it’s a little pizza family, with a mummy, daddy and troupe of children.
He paints them with tomato sauce and, if he’s feeling adventurous, adds a little grated cheese. Then daddy sets them into a hot oven. Five minutes and they’re done. He’ll now sit happily munching his pizza men while I get on with the serious business.
Rolling the pizza can be tricky, but if you’ve done the work properly in the kneading, then it reduces the stress now. Basically roll it as thin as you can, using flour above, below and on the rolling pin to avoid sticking.
You should be able to lift it and almost see through it (people who advocate any sort of thick pizza base are, I’m afraid, permanently bewildered).
I’ve never been too bothered about the shape of my pizza but if such things disturb your mind you can always place a plate on top and go round it with a pizza cutter to get the aesthetically pleasing round shape.
To the topping. I have to admit to being entirely agnostic about the tomato sauce and grated cheese. I don’t mind it if it’s there but I don’t miss it if it’s not. It ain’t obligatory and simply doesn’t work with a number of toppings.
If you are using tomato sauce it’s worth having a go at making your own using tinned cherry tomatoes and some dried oregano, basil and garlic. You don’t need to heat it because it will cook atop the pizza.
For the rest of the toppings, anything is fine (OK, even ham and pineapple, if you must). I love anchovies and capers.
But it’s worth remembering that some things may burn in the hot oven. Toppings like pine nuts or egg can be added half-way through the cooking process. Salad leaves should be added at the end because otherwise they’ll wilt away to nothing.
Always season generously and add a good glug of olive oil before you go into the oven.
Tonight my choice of topping is goat’s cheese, pine nuts and red grape. I choose this because I had goat’s cheese, pine nuts and red grape left over in my kitchen. That’s kinda the way my cooking works.
The only other thing left to discuss is how to transfer the pizza in and out of the oven and how to crisp the bottom.
The round pizza crisp dishes on sale in kitchen shops are useless at doing what they say on the tin. They don’t crisp the pizza but they do make it easy to transport.
Failing this a pizza paddle or peel is cheap and useful for moving the pizza. It’s also useful to sprinkle some semolina grains below just to stop it sticking.
Getting a crispy bottom to your pizza depends on the base coming into contact with a hot surface and then cooking at as high a temperature as possible for as short a time as possible. It’s a balancing act to try and have a crispy base but ensure everything is cooked. When you do it a few times it becomes easier.
A marble or stone slab in the oven works well (I find a headstone is best) but they are cumbersome and take a long time to heat up and cool down.
What I sometimes do is turn a steel baking tray upside down. It conducts the heat a lot quicker.
You’ll know your pizza is done when you see the edges start to brown. How long depends on the heat or your oven and they’re all different.
By now I’ve made giant pizzas for mummy and daddy and junior is happily munching the heads off his pizza men family. He’s all excited about telling his friends tomorrow that he made pizzas. We’re all covered in flour and the kitchen’s going to take a bit of scrubbing.
Of course, if you don’t fancy this you can just order a pizza delivery. But I guarantee it won’t taste as good. And I guarantee you won’t have as much fun.
Arrivederci!
PS. Curry night is next….